

 Since starting work on our little farm house, we've been trying to salvage all the scrap materials we can and re-purpose them if we can't directly use them in construction on the house...so what do you do with a pile of scrap wood??? make really cool photo blocks to hang on the wall!!! here's step-by-step how we turned the above photo into the below photo:
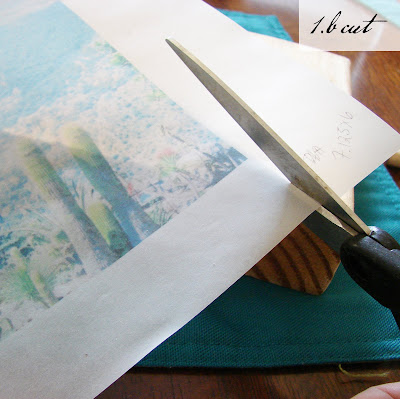
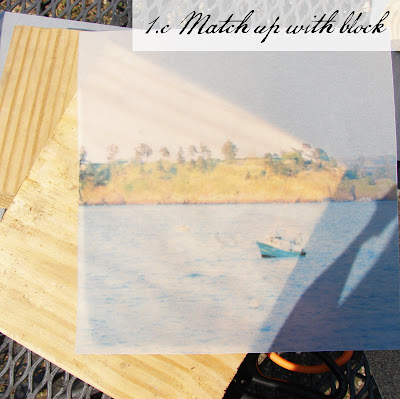
1) Select some photos and size them in photoshop to fit your wood blocks. I think landscapes always turn out well with this treatment so I selected some photos from my trip to France. Print the images out on Vellum paper. (You can print in black and white or color but just remember, when you start to glue the photos to the blocks some smearing may occur so make sure you're alright with the colors that might be produced if the image smears a bit.) Cut out the image and match it up to the properly sized block.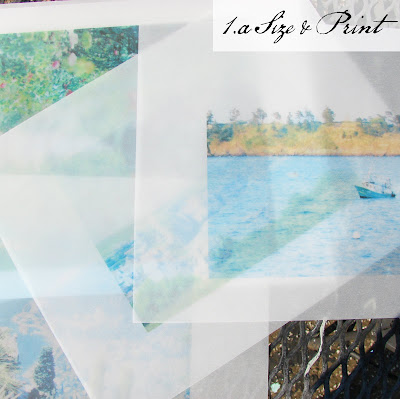


2) Using decoupage, paint a thin layer of the glue directly onto the front of the wood block. Place the printed vellum paper on the front and smooth it down gradually to avoid bubbles on the surface. After the paper has attached and dried to the block, paint another layer of decoupage glue on top of the vellum paper. If you start your top coat of decoupage before the initial layer has dried, you are more likely to develop bubbles in the surface of your image, so be patient!


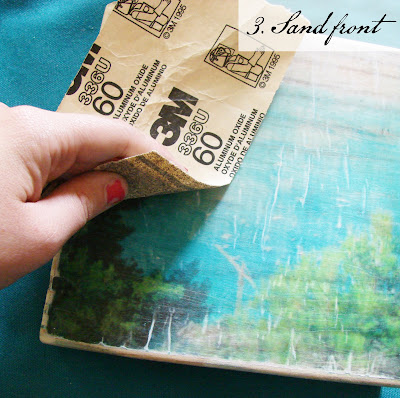
3) Wait until the second coat of decoupage is completely dry and then sand over top of the photo to give a distressed look. I used a sandpaper grade with a pretty abrasive grit since I wanted my photos to have a really worn look but you can sand as much or as little as you like.


4) After you have sanded the front of the photo, sand the edges of the block to round the corners and get rid of the roughness of the wood. Brush off dust from the sanding process.


5) In order to hang your art on the wall you must drill a hole for it to sit on a nail. So, on the back of the block measure about 1-1/2" down from the top and mark a dot with a pencil at the center width-wise. Drill a hole in the back of the block, just wide enough and deep enough for a nail or screw to fit in the hole.


6) After the above steps are finished you might want to add a coat of clear polyurethane over the photo to seal and protect the image. If you are more of a light-sandpaperer, the top coat of decoupage might suffice. But, if like me, you like a more distressed-look to the finished piece and therefore your sandpapering process was pretty aggressive, you might want to add the coat of polyurethane. Here are the finished products hung up on display in our office at home.
 P.S. These are a great idea for Christmas gifts!!!


0 comments:
Post a Comment